

You don't need much to make this amazing party dress for your doll. So far I have only done the measurements for the 18" doll but I will be checking it out on the 20" doll soon.
When I saw the picture of the little girls' dress on Pinterest I knew I could make a pretty close facsimile using The 18" Dress: A Lined Bodice pattern and some strips of fabric.
I show you what I did and I give you measurements for the strips in this blog post tutorial but if you are not into DIY and would prefer a pattern for this Fashion File with pattern pieces for all the strips and the bodice and skirt pieces all included then you will like FF26 A Ruffle Party Dress in my pattern shop.
The Dress Tutorial
Requirements
 |
| The skirt and bodice pieces come from The 18" Dress: A Lined Bodice. The strips you can DIY or buy all the pattern pieces ready to go as FF26 Ruffle Party Dress. |
White Fabric 8" off the bolt or my scrap was 14" along the grain x 24" wide
- Using the bodice pieces from The 18" Dress: A Lined Bodice cut off the neck seam allowance on the front and back pattern pieces. Cut out a bodice and lining.
- You will also need one bias strip for the neck binding 1" x 10"

Patterned Fabric 15" off the bolt x 36" wide
Using the skirt pattern pieces from The 18" Dress: A Lined Bodice cut a 'just below the knee' length skirt for the blue version or on the knee for the pink version.You will also need:
- Skirt ruffle strip 1 1/2" x 45" to 60" ( The pink ruffle is about 45". The blue ruffle is about 60")
*If you want to do a double 1/4" fold hem along the top of the ruffle you will need to make it an extra 3/8" wider.
*If you want to turn up 1/4" hem and put ribbon around the bottom you will need to cut the strip an extra 1/4" wider. - Neck ruffle strip 1 3/4" x 25" This is a bit more than needed but the gathering foot can be a bit unpredictable.
- Bow strip 1 1/2" x 18"
- Armhole piping strip 3/4" x 7" Cut 2 or you can use made up piping. On the blue dress I used a tiny check for the piping.
Ribbon or Lace or Bias Binding
- You need trim for the skirt ruffle hem edge - 45" to 60"
I have used a darker trim for the ruffle on both dresses. I think this gives it better definition rather than using white lace or trim. Coloured lace might be good.
Sewing
Bodice
- Sew the shoulder seams of the bodice and lining.
- Make your piping or just press the strip in half lengthwise. Trim the folded strip back to 3/8" wide.
 |
| Making the piping. I used thin piping cord. |
 |
| I have this two sided sticky to hold things in place so I used it to hold the piping together. |
 |
| The 1/4" width was just right for my piping. You peel the paper off then fold the fabric around the cord. |
 |
| I used my zipper foot to get close to the cord. |
- Stitch the piping around each armhole of the bodice.
 |
| I had to shave off a fraction of my piping raw edge to make it 1/4" wide. Pin it around the armhole matching the raw edges of the piping and the armhole. You need to stitch it down. |
- Place the bodice and lining right sides together and stitch around the armholes and the back edges. Leave the neck edge open.
 |
| Step 4: Stitch the lining to the bodice at the armholes and down the back edges. Stitch over the stitching you did to attach the piping. |
- Turn the bodice through the neck without stretching the neck. Press.
- Baste the neck edge if you like.
- Top stitch down the back edges 1/8" from the edge.
 |
| I find it easier to turn through the neck opening. You just need to be careful not to stretch it. You can top stitch the armholes after you do the side seams if you like. |
Neck Ruffle
- Fold the neck ruffle strip in half lengthwise and press.
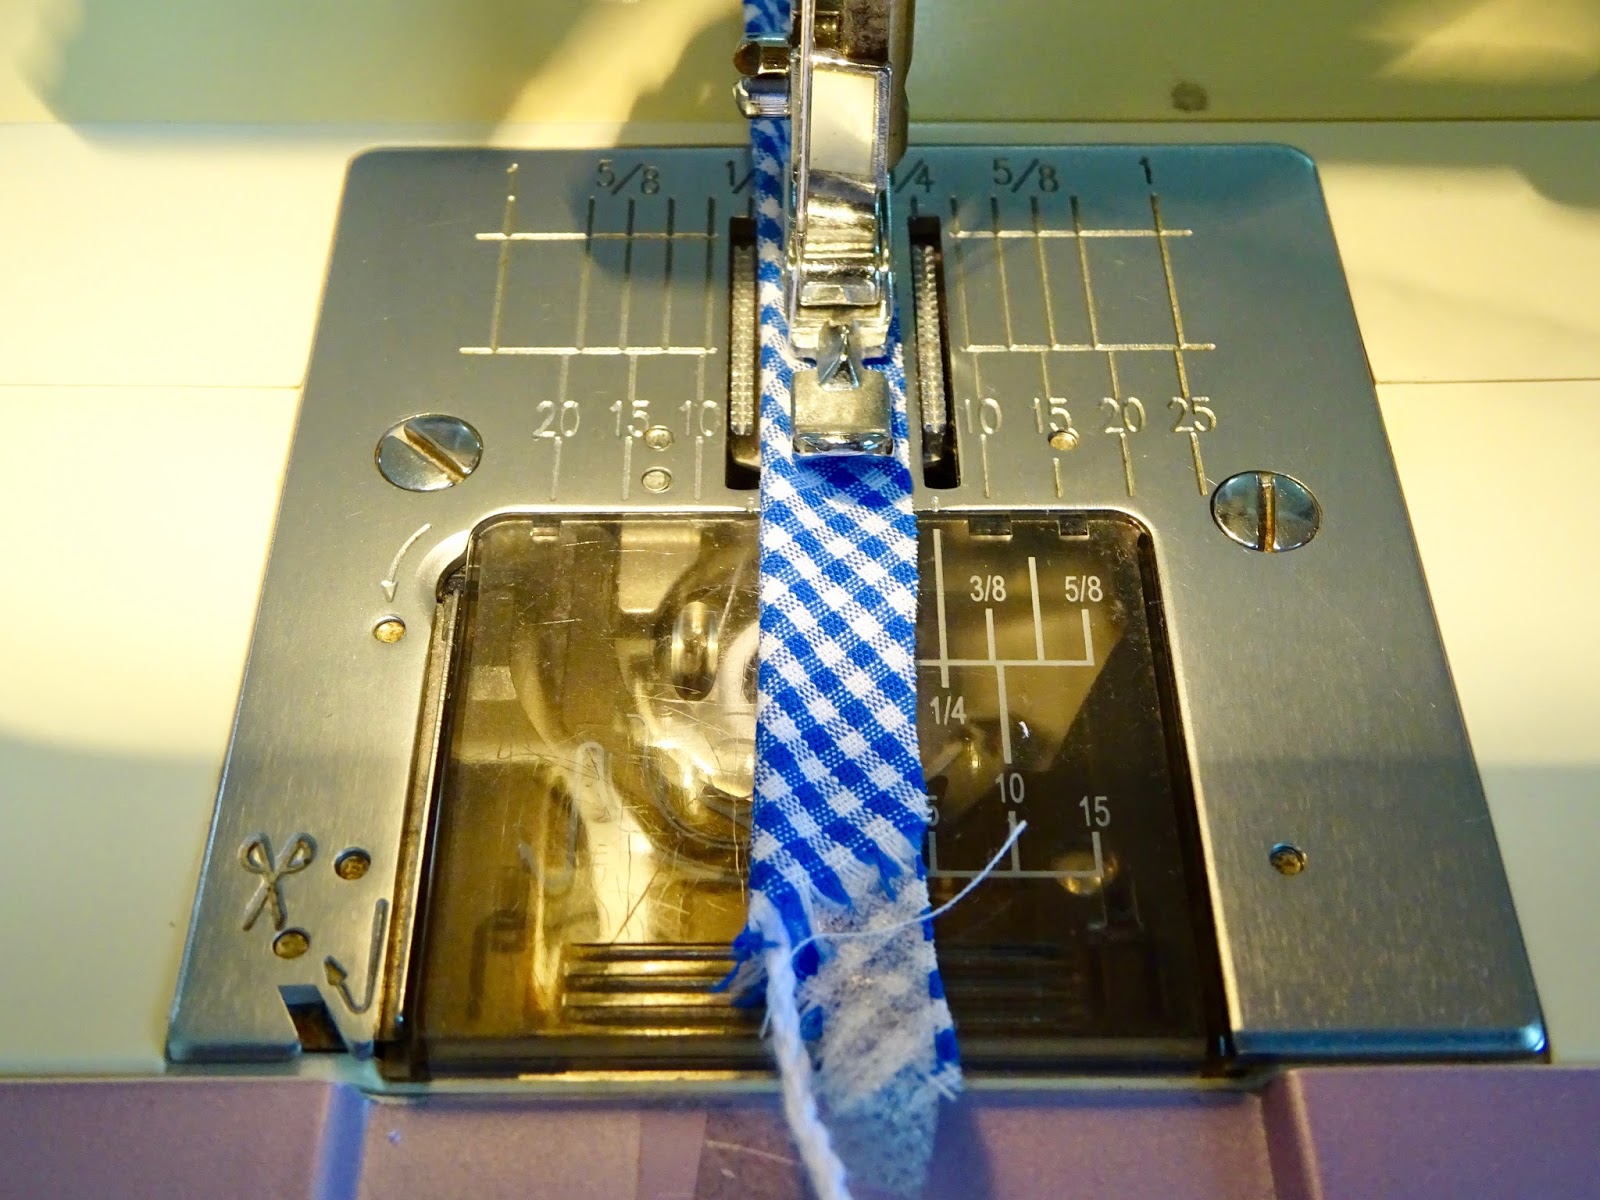
- Gather it with your gathering foot, a row of long stitches or zig zag over crochet cotton. Gathering foot settings: For the quilters cotton I used the settings - Highest tension (9) and stitch length 3mm. For the polycotton gingham I used settings - Tension 7 and stitch length 3mm.
 |
| I used my gathering foot to gather the neck ruffle. |
- Adjust the gathers to fit the neck so it looks nice and extends 1/4" past the back edge.
- Fold under 1/4" at each end and stitch to neaten the ends. This will make the ruffle finish level with the edge of the backs.
 |
| Step 4: Fold under the ends of the ruffle so it is flush with the back edges. I just took out a few pins near the ends. I stitched across then trimmed the end close to the stitching. |
- Baste the ruffle to the neck inside the seam allowance.
 |
| Baste the ruffle to the neckline. |
- With right sides together pin the neck binding to the neck so it overhangs 1/2" at the beginning. Stretch it very gently. Trim the overlap at the other end to 1/2". Stitch the neck binding to the neck with 1/4" seam allowance.
- Trim off half the seam allowance.
- Press the binding up towards the seam.
 |
| Stitch the binding to the right side of the neck. Fold it up and fold in the ends |
- Fold in the ends. Fold the binding to the wrong side. Hold it so the right side of the bodice is facing you. Make sure the raw edge of the binding covers the stitching line on the wrong side and pin it in place.
 |
| After trimming the neck seam fold the binding to the back. |
 |
| You are pinning and stitching on the right side but you need to make sure the edge of the binding just covers the stitching line on the wrong side. |
- Top stitch close to the seam along the binding on the right side, securing the back of the binding as you stitch.
- Top stitch 1/8" from the back edges.
 |
| Top stitch around the binding close to the ruffle. |
- Stitch the side seams with the piping seam allowance lying towards the lining.
Skirt
- Stitch the back skirts to each side of the front. Overlock the seams and press them towards the backs.
- Overlock the hem edge and turn up 1/4' hem. Stitch the hem.
Skirt Ruffle
- If you have two ruffle strips stitch them together to make one long strip. Overlock the seam and press it to one side.
- On one long side of the skirt ruffle make a rolled hem or a double fold hem if you have cut your strip wider.
- On the other long side add the trim of your choice. To add the ribbon I stitched it to the wrong side of the ruffle with the centre of the ribbon over the raw edge. I then folded the ribbon under and pressed the fabric side with my iron set on Rayon. I then stitched the other side of the ribbon to the right side of the ruffle. I will do a rolled hem then stitch the ribbon on top next time to see if that is easier
 |
| Stitching on the ribbon. I was trying to keep the bulk to a minimum but I think next time I will overlock the ruffle edge first, then stitch the ribbon on. |
 |
| My fraying edge was very close to the stitching and caused me a bit of strife in a few places. I folded the ribbon over to enclose the raw edge. I pressed it from the fabric side on a rayon setting so I wouldn't melt the ribbon. |
- It is easiest to gather this ruffle with your gathering foot. Use the highest tension and a 3mm stitch length (longish). I discovered that the polycotton gingham gathered tighter than quilting cotton so after doing the neck ruffle I decided to reduce the tension for the skirt ruffle from 9 to 7.
- Or gather it the way you would normally. The trouble is, the stitching is visible because the ruffle sits on top of the skirt.
- Adjust the gathers so it is the same as the skirt.
- Line it up so the bottom of the ruffle is 1/2" from the hem of the skirt.
 |
| I put my ruler at the bottom and lined up the ribbon edge with the ruler edge to keep it at 1/2" above the hem edge all the way along. I used quite a few pins. |
- Stitch it in place by going over the gathering stitching line.
- Overlock the back edges of the skirt catching in the back edges of the ruffle. Leave a thread tail at the hem edge. Tuck it behind the facing and stitch it down.
 |
| Leave the thread tail and tuck it up and secure it with a few stitches of narrow zig zag. |
Bow
- Finish all the sides of the bow strip with a rolled hem.
- Tie the bow.
 |
| Leave about 3" tail when you make the first loop. |
 |
| Even up the tails and do the hem on the end you cut off. |
Fold back the ends of the tails at right angles to the strip making the ends equal. Stitch along the side to secure them. Turn them right side out.
 |
| You don't need to do this but it hid all the thread tails. I couldn't find my fray check. I suggest using it on the corners. |
Finishing
- Sew the skirt to the bodice. You can enclose the seam in the lining or just sew it on top.
- Top stitch around the bodice close to the waist seam.
- Add three patches of velcro down the bodice back.
- Put a few zig zag stitches in the bow knot to hold it in place.
 |
| You can fiddle around and move the knot so you hide the stitches that secure the bow. I just did a few zig zags on zero stitch length. |
Happy Sewing,
Val
Val
No comments:
Post a Comment
Note: Only a member of this blog may post a comment.